Introduction
For a start, this trick has been around for a while now. However, there are still tons of people who don’t know yet that instead of renting or buying a projector; or watching your movies on an expensive, wide television; or crowding around your smartphone anytime you want to see a movie or a documentary or any video with your family and/or friends, you can actually convert your smartphone to a projector following a really simple procedure which will be shown in this article.
Objective(s) of the Experiment
This procedure is carried out to project images from a smartphone to a screen, thus converting the phone to a projector.
Equipments and Materials Needed
- Smartphone
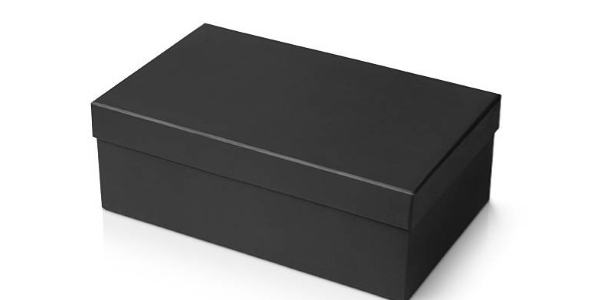
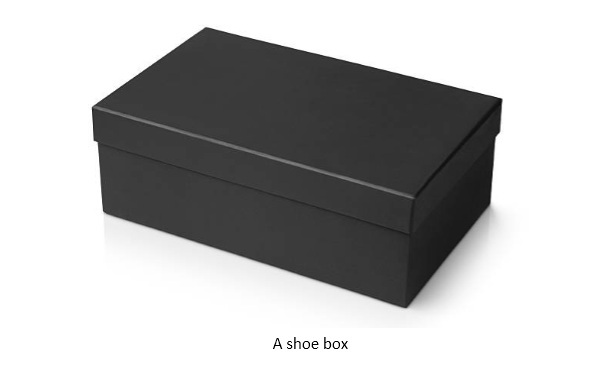
- Shoe box or any carton box that has a lid and can be easily enclosed (should preferably have a rectangular cross section)
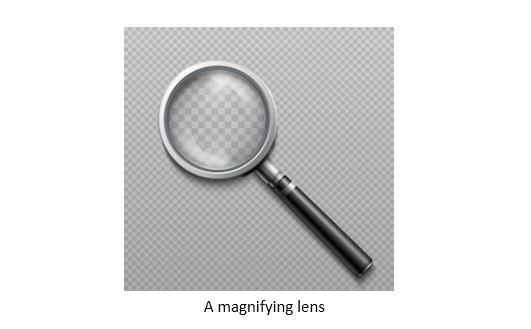
- A magnifying lens which can fit into one of the smaller sides of the box
- Cutting Knife
- Hack-saw (optional)
- Glue
- Double-sided tape
- Ruler
- Pencil
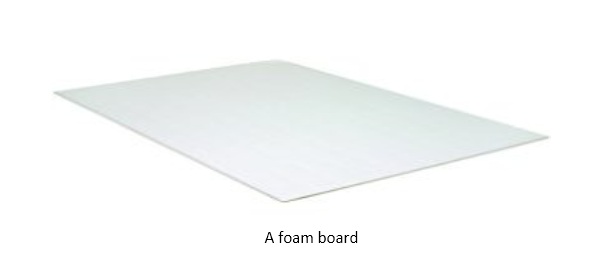
- Hard paper or card-board or foam-board
Procedures
- Using the cutting knife (preferably, use the hacksaw if available), cut off the handle of the magnifying lens.
- Place this magnifying lens one of smaller sides of the shoebox and hold firmly while you trace its circumference with the pencil on the box. This is where you will later glue the lens.
- Using the sharp edge of the cutting knife, cut out this traced circle, and remove the cut part. While doing this, you may want to leave a little allowance so that the magnifying glass has something to glue to.
- Glue the magnifying glass to the hole you cut.
- Take the foam board or hard board and cut two rectangular sheets from it. One for the ‘sit’ and the other for the ‘stand’ which is just enough to perfectly fit the section of the box. The phone will be attached to the stand, and the stand is perpendicularly glued to the sit.
- Check if it fits into the box.
- Now attempt to cover your box. If it closes, that’s okay. If it does not, that would be due to the magnifying lens obstructing its movement. Measure this obstruction on the box-lid (This will be something like an almost semi-circle or a small arc). Cut this piece away from the lid and it should now cover your box.
- Lock the screen of your phone (This is to prevent it from rotating during the projection, because, as said in the next step, the phone will be tilted upside down). You can access this from the Lock Screen property of your phone, or download an application like Rotation Lock Adaptive from Google Play Store to do this.
- After locking the screen, tilt the phone upside down (this is because the lens projects an inverted image to the screen).
- Now, open the double-sided tape and use it to hold the back of your phone and the cut board together. Tape the phone to the stand of the perpendicularly glued board.
- Play your video, place the arrangement in the box.
- Turn off the light and project the image to a screen. Calibrate the phone to display clear images. This is done by shifting to phone towards or away from the lens; you may start from the end of the box and drag towards the lens until you get the clearest images.
- Cover the lid and enjoy watching!
Conclusion
Keep your new projector. You can always use it again.


